
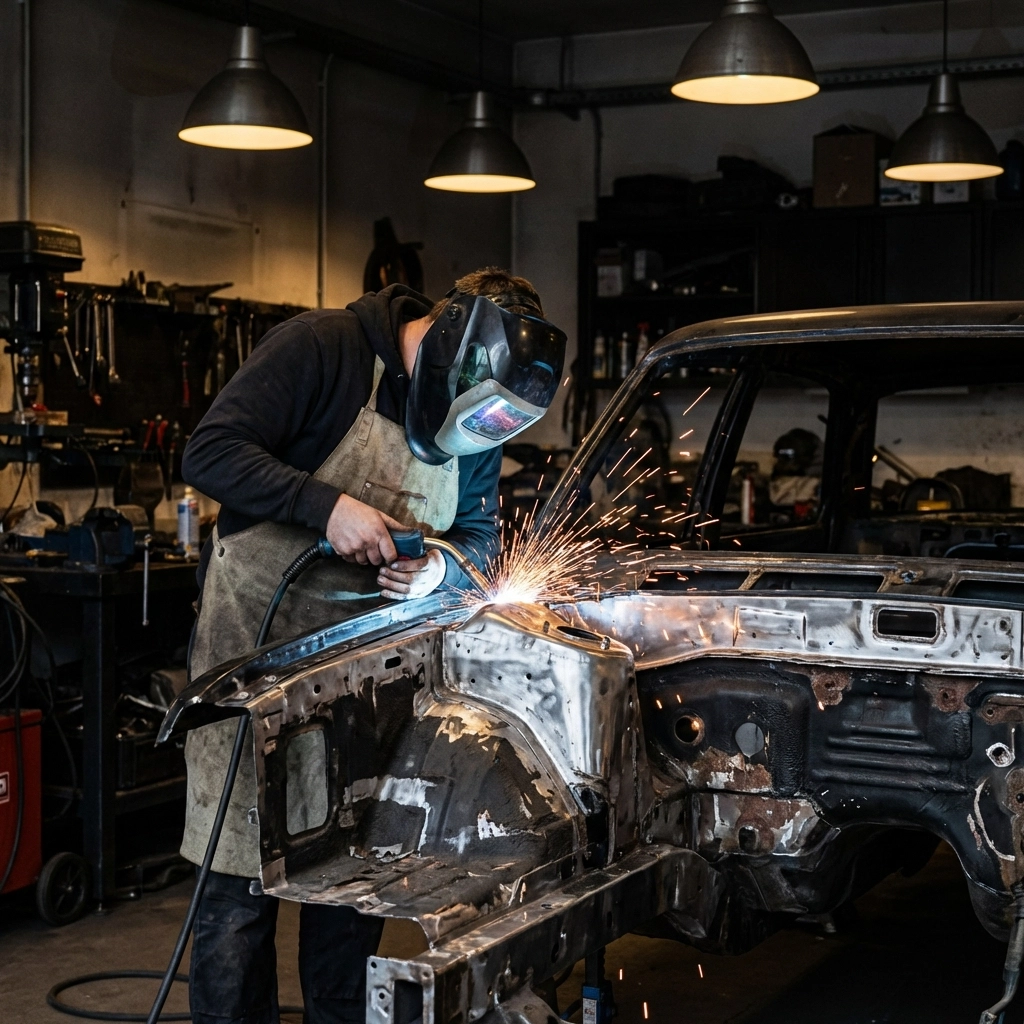
Welding and rustproofing – in what order?
- Lloyd Saunders
- Jan 18
- 6 min read
When rust has eaten through your vehicle's metalwork, welding repairs become necessary before any protective treatment can be applied. But here's where many vehicle owners: and even some garages: get confused: should you weld first and then rustproof, or apply protection before welding?
Getting this sequence wrong can compromise both the quality of your weld and the effectiveness of your rust protection, potentially leaving your vehicle vulnerable to corrosion returning within months. This comprehensive guide explains the correct order, why it matters, and how to ensure your repair and protection work together for long-lasting results.
The Short Answer: Weld First, Then Rustproof
For the vast majority of rust repair and protection scenarios, welding should always come before rustproofing. This is the industry-standard approach used by professional bodywork specialists and rustproofing experts alike.
The sequence follows a logical progression:
Remove all rust and old coatings down to bare metal
Complete all necessary welding repairs
Prepare the welded area
Apply rustproofing products
This order ensures that your welds achieve proper penetration into clean metal, and your rustproofing products can be applied over a fully prepared, repaired surface.
Why the Correct Order Matters
Understanding the reasoning behind this sequence helps you appreciate why shortcuts or alternative approaches often fail.
Welding Requires Clean, Bare Metal
Welding is fundamentally a process of fusing metals together at extremely high temperatures. Any contaminants present on the metal surface: including rustproofing products, underseal, paint, or rust itself: will compromise the weld quality.
When you attempt to weld over rustproofing products:
Toxic fumes are released as oils, waxes, and petroleum-based products burn
The weld becomes porous and structurally weak
Proper fusion cannot occur between the metal surfaces
Fire hazards increase significantly with flammable coatings present
Even products marketed as "weldable" or primers designed for rusty surfaces should be removed from the immediate weld zone. There is simply no substitute for clean, bare steel when creating a strong, lasting weld.
Rustproofing Products Cannot Withstand Welding Temperatures
Modern rustproofing products like Dinitrol and Lanoguard are designed to remain flexible and protective at normal ambient temperatures: even through hot summers and cold winters. However, welding temperatures typically exceed 1,500°C for MIG welding and can reach over 3,000°C for certain processes.
At these temperatures, any rustproofing product will:
Burn off completely
Create smoke and potentially hazardous fumes
Leave carbonised residue that contaminates the weld
Potentially ignite surrounding treated areas
This is precisely why the area around any planned weld must be thoroughly cleaned and stripped back before work begins.
The Complete Step-by-Step Process
Whether you're tackling rust repairs yourself or having professional work carried out, understanding the full process ensures nothing is overlooked.
Step 1: Assessment and Planning
Before any grinding or cutting begins, thoroughly assess the extent of the rust damage. What appears as a small rust bubble on the surface often indicates more extensive corrosion beneath. Probe suspect areas carefully: if metal flakes away or your screwdriver pushes through, welding repairs will be necessary.
Plan your approach by identifying:
All areas requiring metal replacement
Access points for repair panels
Adjacent areas that will need protection during welding
The full extent of rust that must be removed
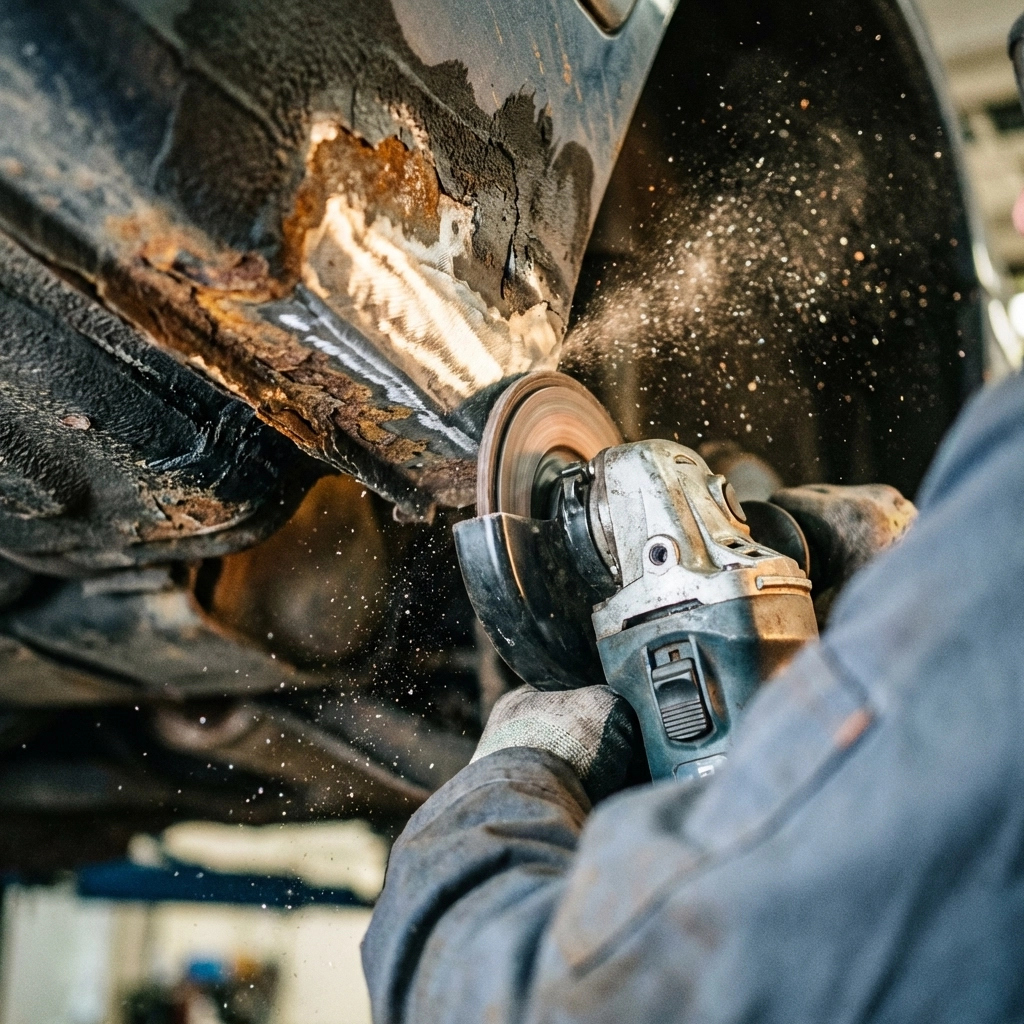
Step 2: Rust and Coating Removal
Remove all rust, underseal, cavity wax, paint, and any other coatings from the repair area. Extend this cleaning at least 50-100mm beyond the area you plan to weld to ensure no contamination can migrate into the weld zone during heating.
Use appropriate methods:
Angle grinders with flap discs for heavy rust and coatings
Wire wheels for surface preparation
Chemical rust removers for pitted surfaces
Needle scalers for stubborn underseal in confined areas
The goal is bright, clean metal ready to accept a quality weld.
Step 3: Complete All Welding Repairs
With clean metal exposed, complete all necessary welding work. This might include:
Cutting out rusted sections and welding in repair panels
Seam welding where original spot welds have failed
Building up worn areas
Reinforcing weakened structural members
Allow welds to cool completely before proceeding. Rushing to apply coatings over hot metal will cause adhesion problems and may damage the products themselves.
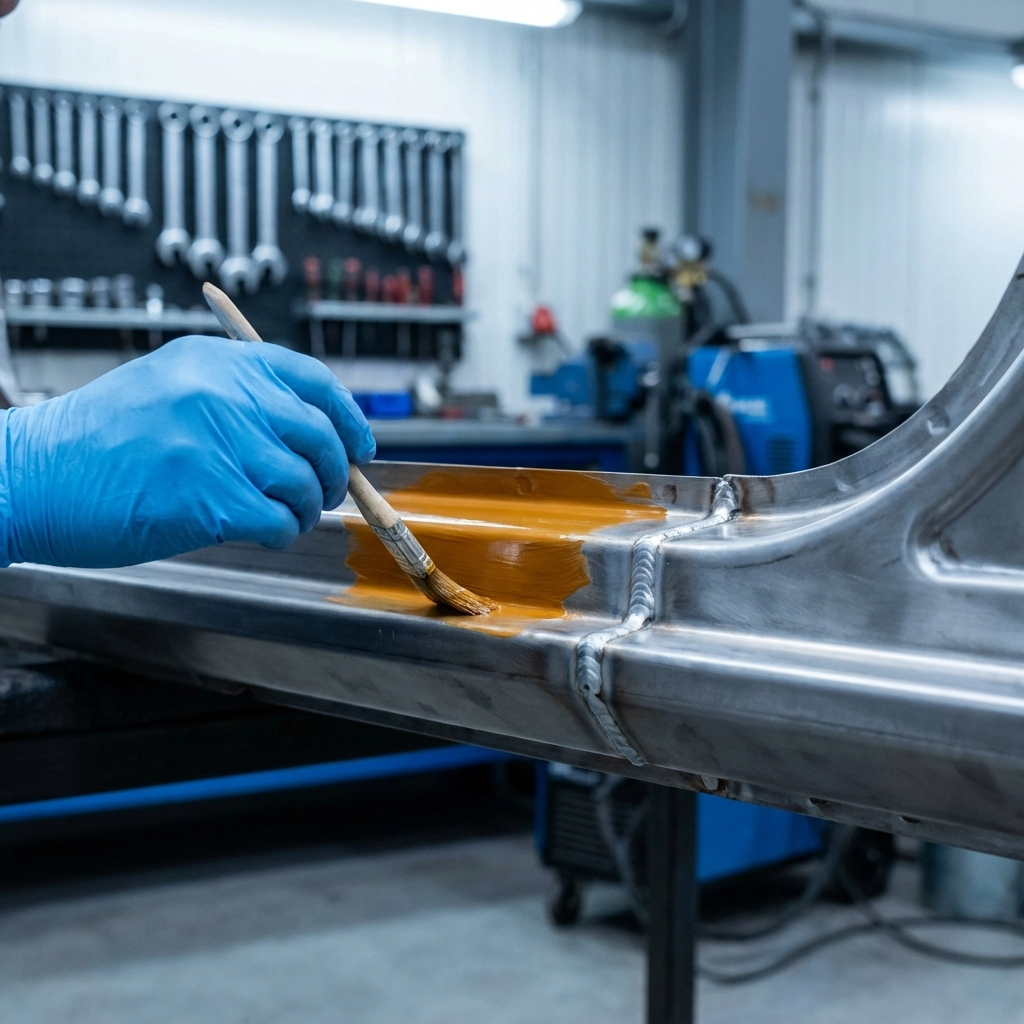
Step 4: Post-Weld Preparation
Once welding is complete and the metal has cooled:
Grind down weld beads where necessary for a smooth finish
Treat all welded areas with a rust-inhibiting primer
Apply seam sealer to all joints to prevent moisture ingress
Allow primers and sealers to cure according to manufacturer specifications
This preparation stage is critical: skipping it will allow rust to begin forming immediately beneath your rustproofing products.
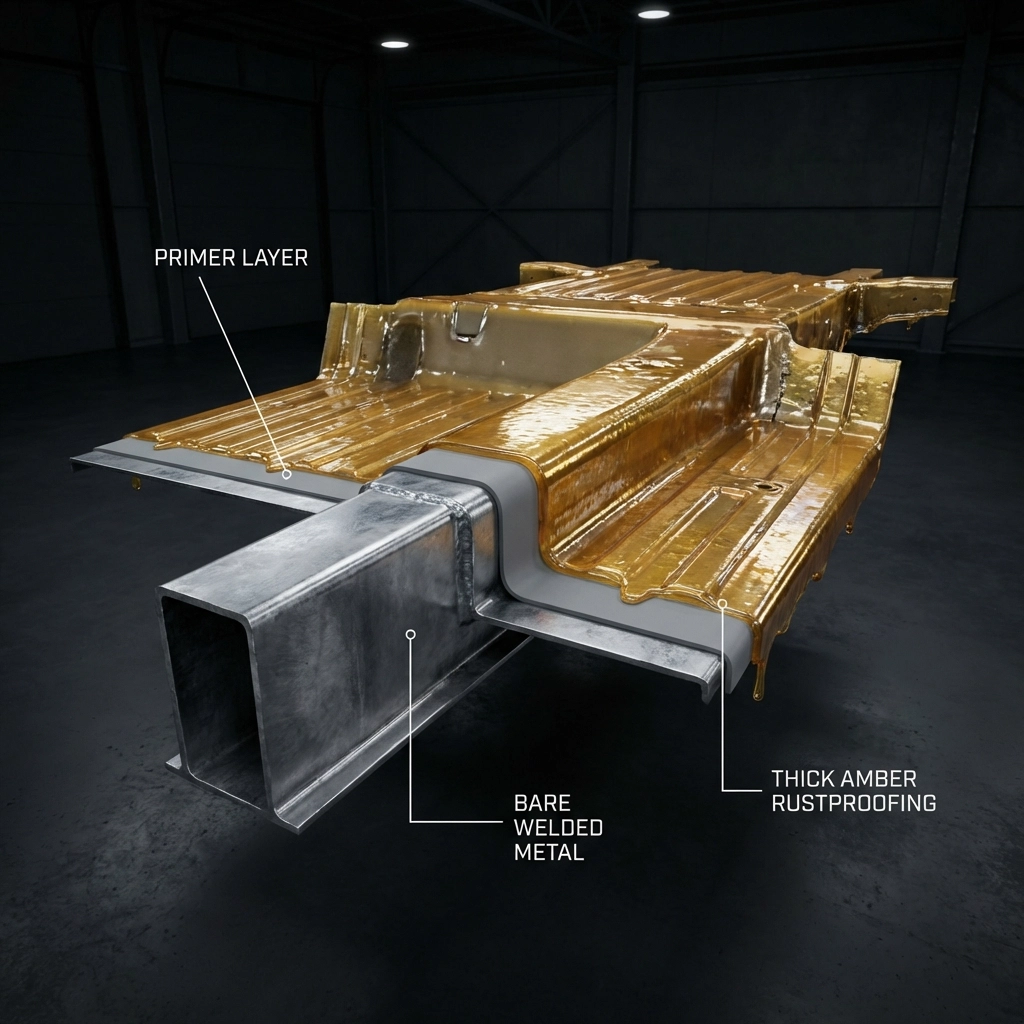
Step 5: Apply Comprehensive Rustproofing
With all repairs complete and properly prepared, apply your chosen rustproofing system. A thorough treatment should include:
Underbody protection such as Dinitrol 4941 on exposed chassis and underbody panels
Cavity wax injected into all box sections, sills, doors, and enclosed spaces
Wheel arch treatment to protect these high-impact areas
For guidance on proper preparation before rustproofing, our guide on how to prepare a car before rustproofing provides detailed steps.
Special Considerations for Galvanised Components
If you're working with hot-dip galvanised steel: common on some 4x4 chassis and trailer components: the process requires additional care.
Welding Already-Galvanised Steel
When welding galvanised components, you must remove the zinc coating at least 25-100mm on both sides of the weld zone before welding. Grinding is the most common method.
After welding:
Clean the weld area thoroughly
Apply a cold galvanising compound or zinc-rich primer to the weld zone
Then proceed with your standard rustproofing treatment
The zinc coating will burn off during welding regardless, so removing it beforehand gives you a cleaner weld and better control over the repair process.
Welding Before Galvanising
For components being fabricated from scratch, another option is to complete all welding first, then send the entire assembly for hot-dip galvanising. This provides comprehensive zinc protection over the whole component, including the welds.
This approach requires following specific welding practices: stitch welds rather than continuous seams, with small gaps to allow trapped air to escape during the galvanising process.
Common Mistakes to Avoid
Having seen countless vehicles where rust has returned prematurely after repairs, we've identified the most common errors that compromise results.
Rushing the Process
Applying rustproofing over hot welds, uncured primers, or inadequately cleaned surfaces will cause adhesion failures. The products may appear to have been applied correctly, but moisture will find its way beneath, and corrosion will restart within months.
Insufficient Cleaning
Removing visible rust isn't enough. All traces of old underseal, cavity wax, and previous treatments must be removed from weld zones. Rustproofing products are designed to penetrate and adhere to clean metal: they cannot work effectively over contaminated surfaces.
Ignoring Cavities and Hidden Areas
After welding external panels, it's easy to forget that box sections, sills, and cavities behind the repair area also need attention. These enclosed spaces are where rust often begins, eventually working outward to visible surfaces.
Inadequate Weld Protection
Bare welds will begin rusting almost immediately in UK conditions. Even if you plan to apply rustproofing products within a few days, welds should be protected with a primer immediately after they cool.
Professional Rustproofing After Welding Repairs
If your vehicle has required welding repairs: whether for MOT compliance or to address significant corrosion: this represents an ideal opportunity to invest in comprehensive rustproofing.
At Rustec, we regularly treat vehicles that have just undergone bodywork repairs. Our technicians ensure that:
All repaired areas are properly prepared and primed
Cavity wax reaches inside newly welded box sections
Underbody treatments cover and protect weld seams
The entire vehicle receives comprehensive protection, not just the repaired areas
Vehicles that have already experienced rust problems are at higher risk of future corrosion. Professional-grade rustproofing applied after repairs provides the best possible defence against rust returning.
The Bottom Line
The correct sequence is clear: always complete welding repairs before applying rustproofing products. This approach ensures strong, lasting welds and allows rustproofing to perform as designed: creating a durable barrier against moisture and salt that keeps your vehicle protected for years to come.
If you've recently had welding work carried out on your vehicle, or you're planning rust repairs and want to ensure proper long-term protection afterwards, our team can advise on the best approach for your specific situation. Professional rustproofing applied correctly after repairs represents one of the most effective investments you can make in your vehicle's longevity.
For more information on our comprehensive rustproofing treatments or to discuss your vehicle's specific needs, get in touch with our team today.
Comments