
How do you clean a chassis before rustproofing?
- Lloyd Saunders
- Nov 4, 2025
- 5 min read
Proper chassis cleaning before rustproofing is absolutely critical to achieving long-lasting rust protection. Whether you're considering a DIY approach or seeking professional service, understanding the meticulous preparation process ensures your rustproofing treatment delivers maximum value and longevity. At Rustec, we've perfected this comprehensive cleaning methodology through years of treating thousands of vehicles across the UK.
Why Chassis Cleaning Cannot Be Compromised
The effectiveness of any rustproofing treatment depends entirely on the quality of surface preparation. Applying premium products like Dinitrol or Lanoguard over contaminated surfaces creates a false sense of security – the protection will fail prematurely, potentially causing more damage than no treatment at all.
Dirt, grease, existing rust scale, and old coatings prevent proper adhesion of protective products. When rustproofing fails due to inadequate preparation, moisture becomes trapped beneath the coating, accelerating corrosion rather than preventing it. This is why professional preparation is non-negotiable for guaranteed results.
Essential Equipment and Safety Considerations
Before beginning any chassis cleaning operation, assembling the correct equipment ensures both safety and effectiveness. Professional-grade preparation requires specific tools and safety measures that many DIY enthusiasts underestimate.
Essential Equipment:
Pressure washer or high-quality degreaser
Wire wheels of varying grades (brass to heavy-duty twisted steel)
Electric drill with wire brush attachments
Ball peen hammer for scale removal
Heavy-duty scrapers
Sandpaper in progressively finer grits (80-120, 220, 320)
Air compressor with blow gun
Rust converter chemical
Wax and grease remover
Trisodium phosphate (TSP) solution
Protective equipment: safety glasses, respirator mask, heavy-duty gloves
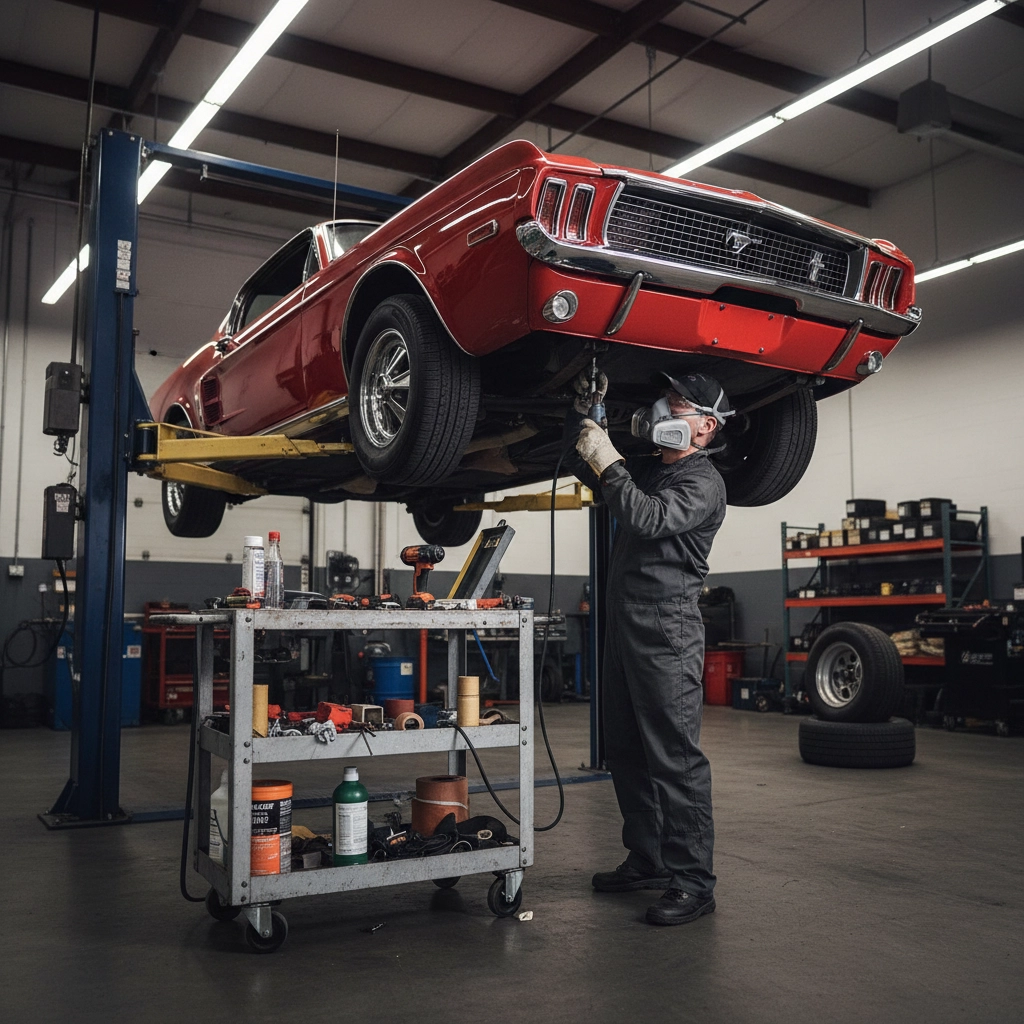
Critical Safety Requirements: Working beneath vehicles presents serious risks. Ensure the vehicle is properly supported on axle stands – never rely solely on jacks. Adequate ventilation is essential when using chemical cleaners and rust converters. Eye protection prevents metal fragments from causing injury during mechanical cleaning operations.
Stage One: Initial Decontamination
The cleaning process begins with comprehensive decontamination to remove surface contaminants and loose debris. This foundational stage determines the success of all subsequent preparation steps.
Start by thoroughly washing the chassis area with a high-quality degreaser, utilising a pressure washer for maximum effectiveness. If a pressure washer isn't available, a garden hose provides adequate cleaning power, though the process takes longer. Focus particular attention on areas where road grime, salt residue, and oil contamination typically accumulate.
Allow the chassis to dry completely – this typically requires 48-72 hours depending on weather conditions. Rushing this drying period compromises the effectiveness of mechanical cleaning operations and can trap moisture beneath subsequent coatings.
Stage Two: Mechanical Rust and Scale Removal
Once completely dry, begin systematic removal of rust scale and corrosion. This mechanical cleaning stage requires patience and thoroughness – any shortcuts here will compromise the entire treatment.
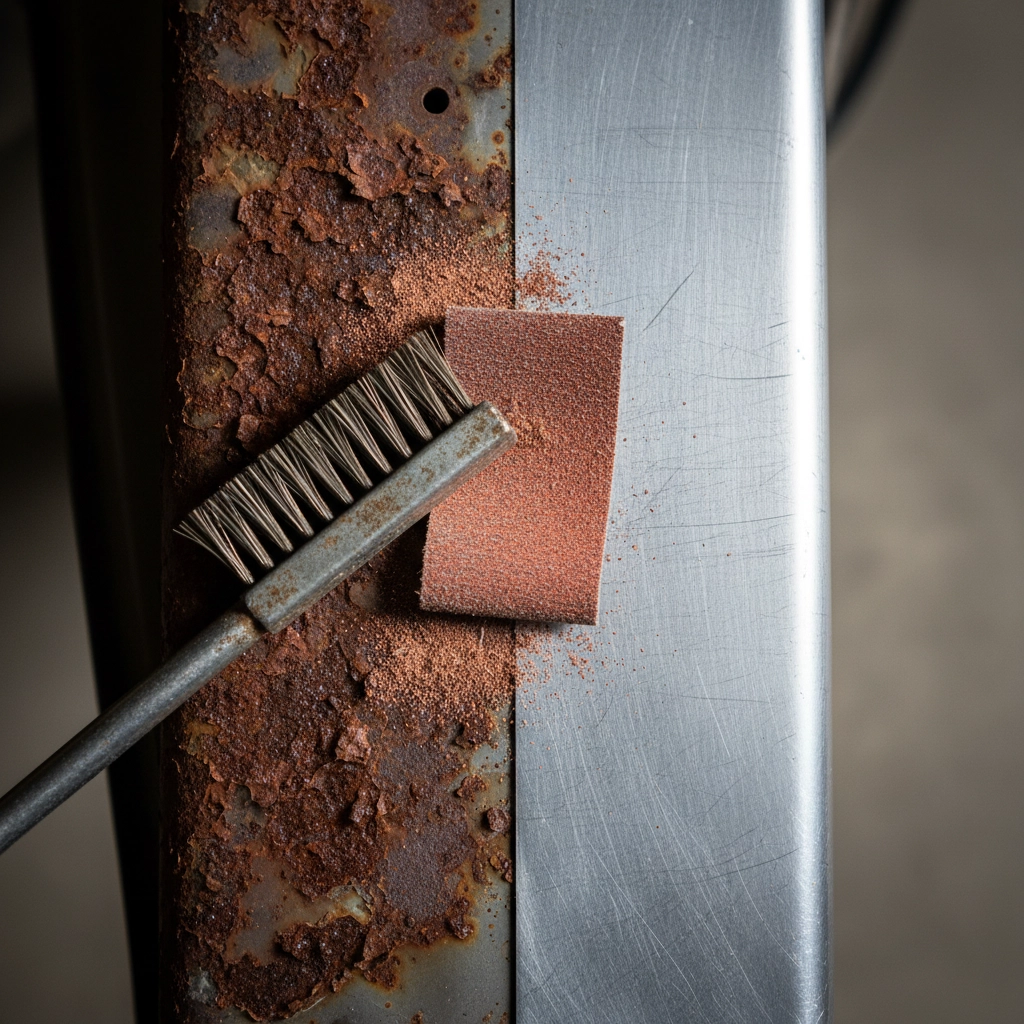
Scale Removal Technique: Use a ball peen hammer to carefully break away rust scale from the chassis surface. This technique requires precision – tap lightly to fracture scale without damaging underlying metal. Stubborn scale may require supplementary removal with heavy-duty scrapers, working methodically across the entire chassis area.
Progressive Grinding Process: For areas with established rust, employ a heavy-duty air-powered surface sander with coarse abrasive pads. Begin with 80-120 grit materials to remove substantial corrosion, progressing through 220 grit, and finishing with 320 grit sandpaper. This progressive approach ensures smooth surface preparation without excessive material removal.
Wire Wheel Application: Utilise wire wheels of varying grades in an electric drill for detailed cleaning. Begin with heavy-duty twisted steel brushes for stubborn contamination, progressing to fine brass-wire wheels for finishing work. Pay particular attention to areas inaccessible to larger grinding equipment – thorough coverage requires multiple wheel types.
Stage Three: Chemical Treatment and Final Preparation
After mechanical cleaning, chemical treatment addresses remaining contamination and prepares the surface for rustproofing application.
Debris Removal: Use an air compressor with blow gun attachment to remove all dust, metal particles, and debris from the cleaning process. This step is critical – any remaining particles will create adhesion points for moisture and compromise the rustproofing treatment.
Rust Conversion: Apply professional-grade rust converter to areas where pitting or residual rust remains despite mechanical cleaning. These chemicals convert remaining iron oxide to a stable compound that accepts protective coatings. Allow proper curing time as specified by the manufacturer – typically 24-48 hours depending on conditions.
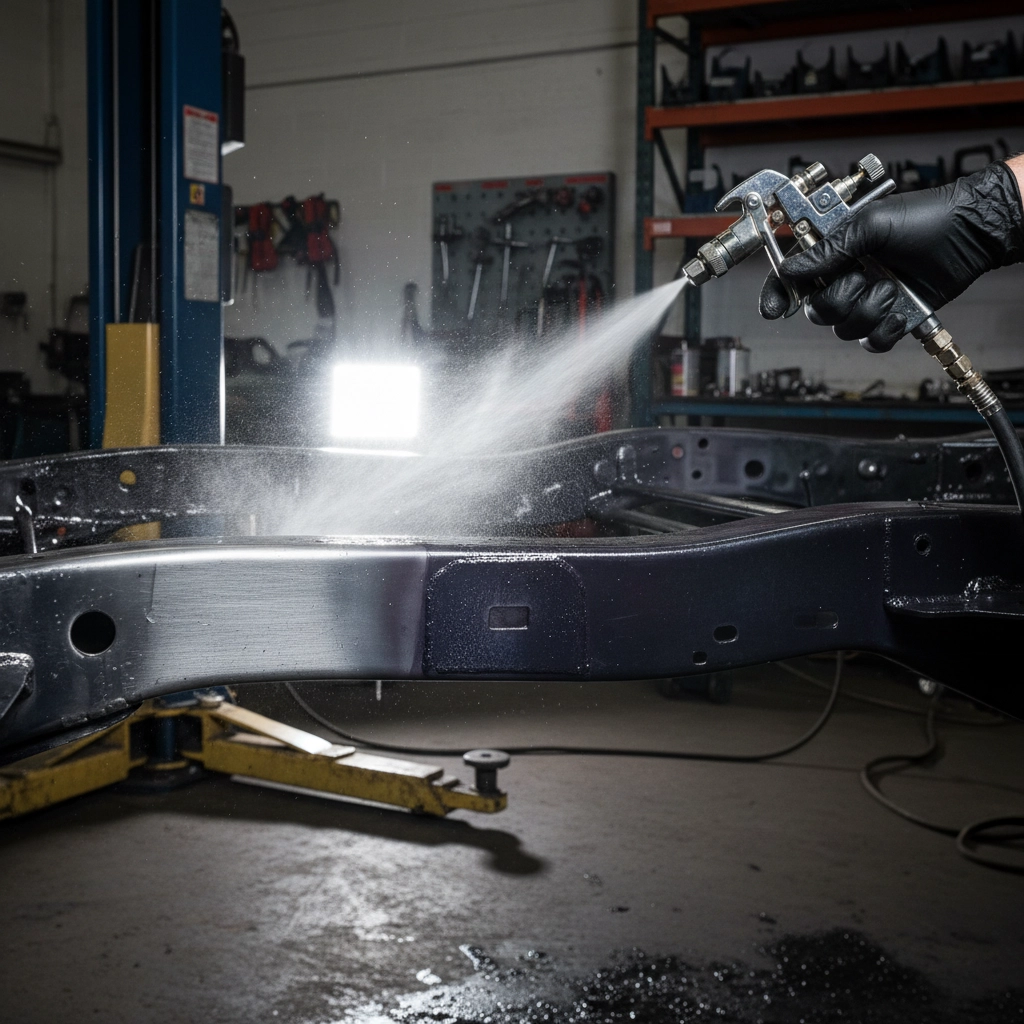
Final Surface Preparation: Complete the preparation process with comprehensive decontamination using wax and grease remover. This eliminates any residual oils, fingerprints, or contaminants introduced during the cleaning process. For maximum effectiveness, follow with a TSP (trisodium phosphate) wash using hot water and thorough rinsing.
After complete drying, apply surface etching products like Dupont Kwik Prep or Naval Jelly to create optimal surface conditions for rustproofing adhesion. These products chemically prepare the metal surface and neutralise any remaining surface rust.
Common Preparation Mistakes That Compromise Results
Understanding frequent preparation errors helps avoid costly failures and ensures optimal results from your rustproofing investment.
Insufficient Drying Time: Rushing the drying process traps moisture beneath protective coatings, creating conditions for accelerated corrosion. Professional preparation allows adequate drying between each stage.
Inadequate Scale Removal: Leaving rust scale beneath rustproofing products creates failure points where moisture penetrates and corrosion continues. Complete scale removal is non-negotiable for long-term protection.
Surface Contamination: Applying rustproofing over oils, grease, or cleaning residues prevents proper adhesion. Professional preparation includes comprehensive decontamination protocols.
Incomplete Coverage: Missing areas during preparation creates weak points in the protective system. Professional technicians follow systematic inspection procedures to ensure complete coverage.
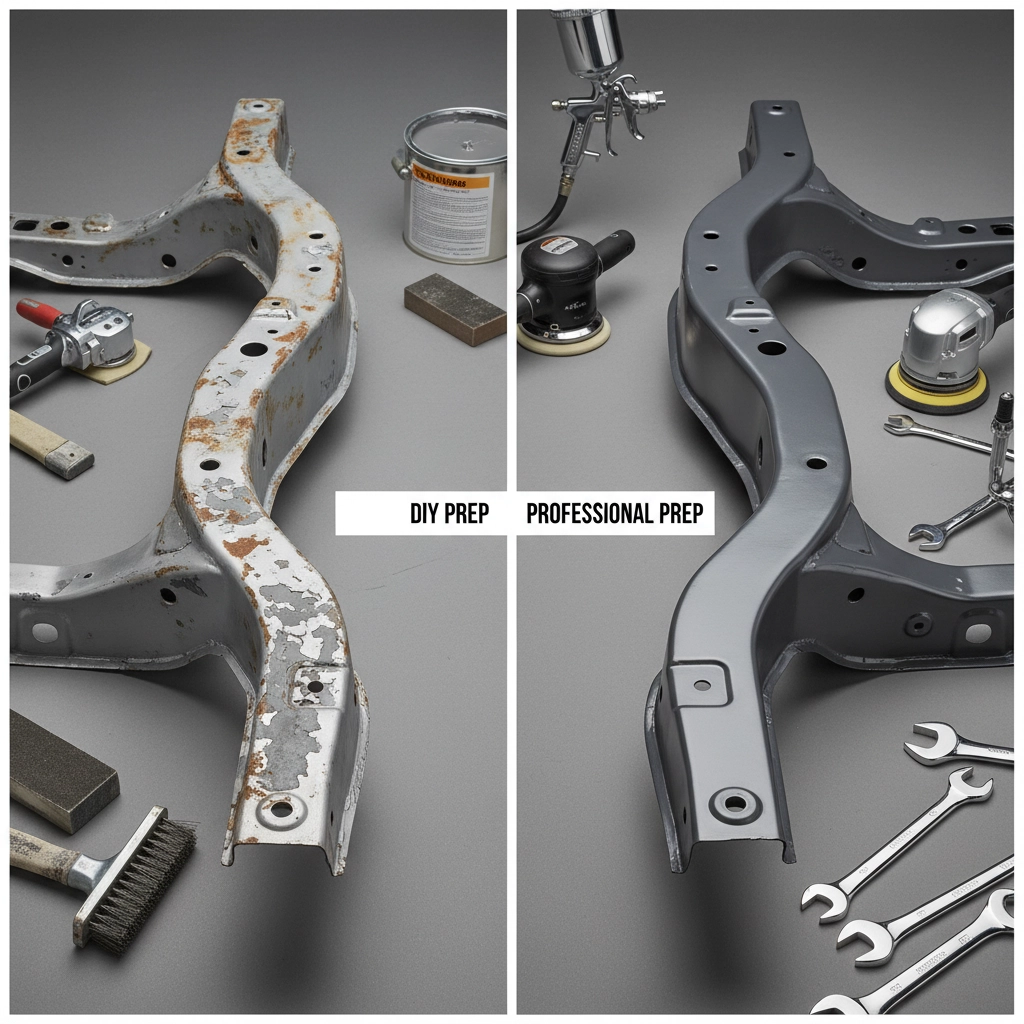
Professional Preparation Advantages
While DIY chassis cleaning is technically possible, professional preparation offers significant advantages in terms of effectiveness, safety, and long-term results.
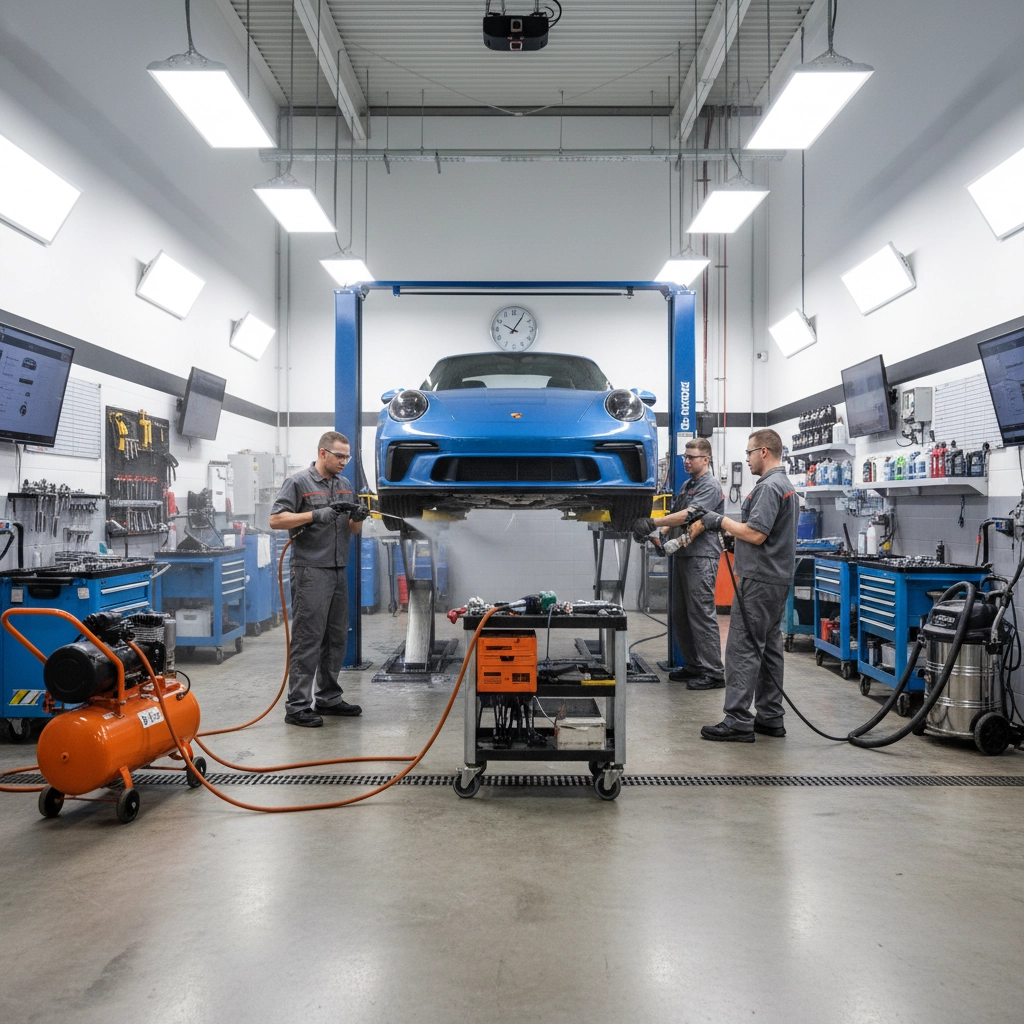
Professional workshops possess specialised equipment including hydraulic lifts, industrial-grade cleaning systems, and controlled environment conditions. This equipment enables thorough access to all chassis areas while maintaining optimal working conditions throughout the preparation process.
Experienced technicians recognise subtle indicators of hidden corrosion and structural issues that untrained individuals often miss. This expertise prevents costly oversights and ensures appropriate treatment for each vehicle's specific requirements.
Professional preparation includes comprehensive documentation and quality assurance procedures. At Rustec, every preparation stage is photographed and documented, providing complete transparency and ensuring accountability for results.
The Rustec Professional Standard
At Rustec, our chassis preparation process exceeds industry standards through systematic methodology and uncompromising attention to detail. Our technicians undergo extensive training in advanced preparation techniques, ensuring consistent, professional results for every vehicle treatment.
Our preparation facilities feature climate-controlled environments, professional-grade equipment, and comprehensive safety systems. This infrastructure enables optimal working conditions regardless of weather or seasonal factors, ensuring consistent preparation quality year-round.
Our Comprehensive Preparation Process Includes:
Detailed pre-treatment inspection with photographic documentation
Systematic cleaning using professional-grade equipment and materials
Progressive mechanical preparation with quality control checkpoints
Chemical treatment using premium conversion products
Final surface preparation with professional-grade materials
Complete quality assurance inspection before rustproofing application
Investment in Professional Preparation
Attempting DIY chassis preparation often results in compromised surface quality, incomplete coverage, and premature treatment failure. The cost savings from DIY preparation frequently disappear when treatments fail prematurely, requiring expensive remedial work.
Professional preparation ensures optimal surface conditions for rustproofing application, maximising the lifespan and effectiveness of premium products like Dinitrol cavity wax and Lanoguard protective coatings. This investment approach delivers superior long-term value compared to budget alternatives.
Trust Rustec for Expert Chassis Preparation
Proper chassis preparation requires expertise, specialised equipment, and systematic methodology that delivers guaranteed results. While understanding the preparation process helps appreciate the complexity involved, achieving professional-standard results requires professional execution.
At Rustec, we combine decades of experience with cutting-edge equipment and premium materials to deliver preparation standards that ensure maximum rustproofing effectiveness. Our comprehensive preparation process, combined with our Rustec Guarantee, provides complete confidence in long-term rust protection.
Rather than risk compromising your rustproofing investment through inadequate preparation, trust the professionals who understand every aspect of chassis preparation and protection. Contact Rustec today to discuss your requirements and experience the difference that professional preparation makes to rustproofing effectiveness and longevity.
Your vehicle deserves protection that lasts – and that protection begins with preparation that meets the highest professional standards.
Comments